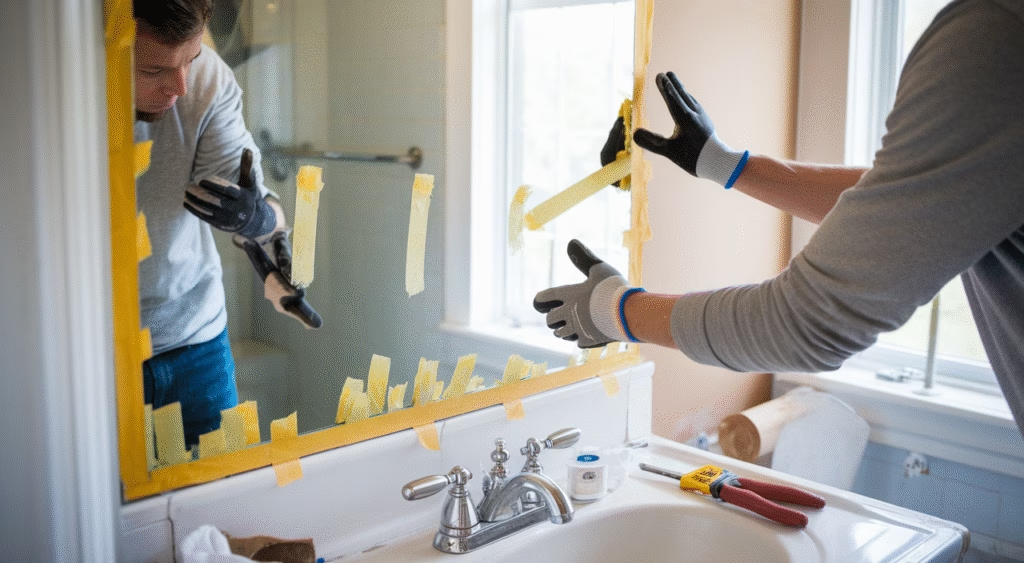
How do you remove a bathroom mirror without damaging the wall?
You can remove a bathroom mirror without damaging the wall by first identifying how it’s mounted (adhesive, clips, or screws), then using proper tools like putty knives, pry bars, and painter’s tape. The key to safe mirror removal is applying gentle, steady pressure while protecting the wall surface throughout the process.
TL;DR: Key Takeaways for Safe Bathroom Mirror Removal
- Identify Mounting Style: Determine whether your bathroom mirror is glued, clipped, or screwed in place.
- Cover and Protect: Wear safety gear and prepare your workspace with drop cloths.
- Use the Right Tools: Essential mirror removal tools include pry bars, utility knives, painter’s tape, and protective gloves.
- Work Slowly: Never rush mirror removal – patience prevents cracks and wall damage.
- Prepare for Glass: Clear a safe zone in case of breakage during removal.
- Inspect Wall After: Check the drywall or tile behind for any minor repairs needed after mirror removal.
How to Remove a Bathroom Mirror Safely
Preparing for Mirror Removal
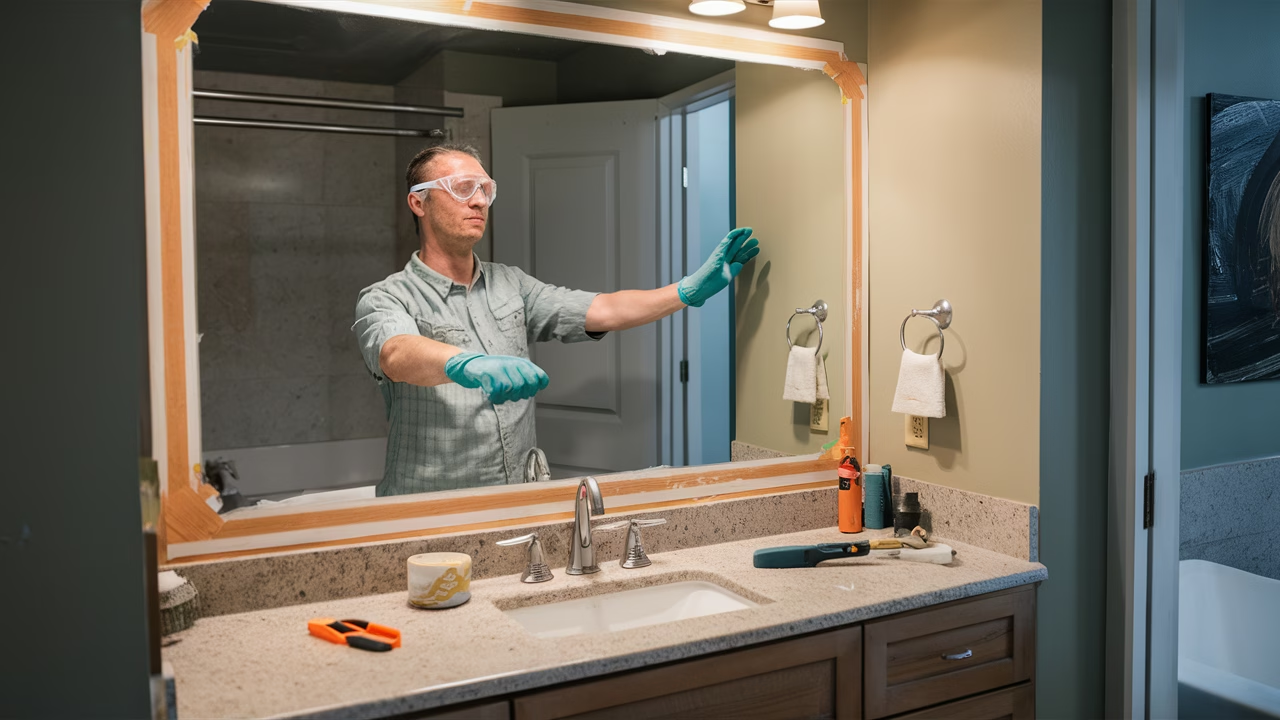
Proper preparation is crucial for successful DIY mirror removal. Before you begin removing your bathroom mirror, invest 10-15 minutes in thorough preparation to ensure safe removal.
- Evaluate the Mounting System: Determine if your bathroom mirror is glued to the wall, mounted with clips, or secured with screws. Use a flashlight and gently examine the edges to assess the attachment method.
- Clear the Space: Remove all items from counters, shelves, and nearby surfaces. Lay down drop cloths or thick towels to catch any debris during mirror removal.
- Safety First: Wear safety glasses, work gloves, and long-sleeved clothing to protect yourself from sharp edges or unexpected cracking.
- Protect the Mirror Surface: Apply painter’s tape in a criss-cross pattern across the mirror face to contain potential shattering – this acts as insurance for safe mirror removal.
Removing the Mirror
This critical phase requires patience and steady hands. Your mirror removal technique depends entirely on the installation type you discovered during preparation.
Mirror Mounted with Clips
- Use a screwdriver to carefully unscrew each clip, starting with the bottom ones.
- Have a helper support the bathroom mirror as you remove the final top clips.
- Slide the mirror forward gently and lift it away from the wall together.
Mirror Glued to Wall
- Apply heat using a hair dryer to soften the adhesive behind the bathroom mirror.
- Use a utility knife to carefully cut through the adhesive along the edges.
- Work a putty knife or pry bar behind the mirror gradually, protecting the wall with thin cardboard backing.
Never force or yank the mirror during removal. Mirror glass is surprisingly heavy, and rushed movements often result in both wall damage and dangerous mirror breakage.
Safely Handling the Mirror
Once your bathroom mirror is free from the wall, immediately place it on a flat, well-padded surface. Large mirrors always require two people for safe handling. Wrap the removed mirror in bubble wrap or moving blankets if you’re transporting it.
Tools Needed for Mirror Removal
Having the right mirror removal tools makes the difference between a successful DIY project and a costly disaster.
| Tool | Purpose |
|---|---|
| Painter’s Tape | Prevents glass shatter during removal |
| Utility Knife | Cuts through adhesive and sealant |
| Putty Knife or Paint Scraper | Safely loosens glued mirror edges |
| Pry Bar | Provides leverage for stubborn mirrors |
| Heat Gun / Hair Dryer | Softens adhesive behind bathroom mirror |
| Safety Gear | Essential gloves and protective eyewear |
Tips for Preventing Wall Damage
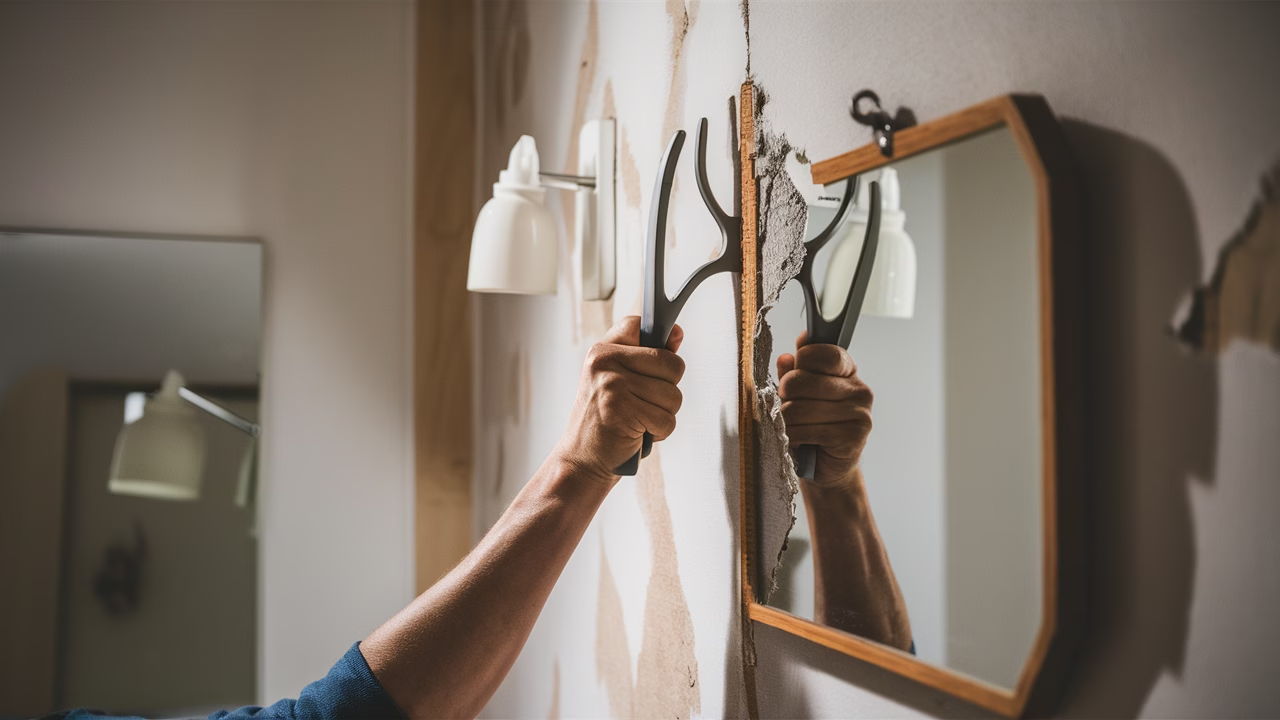
Wall damage during mirror removal typically happens when you rush the process or use improper techniques. Follow these proven methods to keep your drywall or tiles intact.
- Cushion Your Tools: Always place a thin board behind your pry bar to protect the wall surface during mirror removal.
- Use Heat Strategically: For glued bathroom mirrors, a hair dryer becomes your most valuable removal tool.
- Remove Hardware Completely: If you find anchors or screws, remove them entirely rather than hammering them deeper into the wall.
- Patch Immediately: Fill any holes with appropriate wall filler and sand smooth once completely dry.
- Have Touch-up Ready: Keep matching paint on hand for quick fixes after mirror removal.
When you remove a bathroom mirror cleanly using proper techniques, any necessary drywall patches are usually minimal – just a small amount of compound and brief drying time.
Cost Guide: What Does Mirror Removal Typically Cost?
While many homeowners tackle DIY mirror removal, others prefer professional help. Here’s what you can expect to invest based on your chosen approach.
| Option | Cost Range | Includes |
|---|---|---|
| DIY Mirror Removal | $25–$75 | Safety gloves, scraper, painter’s tape, putty knife |
| Handyman Service | $80–$150 | Professional removal and basic wall patchwork |
| Professional Glass Removal | $150–$300 | Expert removal, safe disposal, complete wall repair |
Final Thoughts on Mirror Removal
Successfully removing a bathroom mirror without wall damage is absolutely achievable for DIY enthusiasts of any skill level. By approaching your mirror removal project with proper preparation, using appropriate tools, and following our proven techniques – including painter’s tape application, adhesive heating, and gentle prying – you’ll achieve professional-quality results.
Remember, mirrors deserve respect during removal. Never force the process, never rush, and your walls will remain pristine throughout your bathroom renovation.
Frequently Asked Questions
How to remove a bathroom mirror without damaging the wall?
Start by applying painter’s tape across the mirror, assess the attachment type, gently use a putty knife or pry bar with a wood buffer, and slowly work around the edges without forcing it.
Can I remove a glued mirror by myself?
Yes, if it’s a smaller mirror and you’re comfortable with basic tools. Use a heat gun or hair dryer to soften the glue and slowly loosen the mirror with a scraper.
Are large mirrors dangerous to remove alone?
Absolutely. Large mirrors are heavy and can crack or shatter unexpectedly. Always have a partner handy or consider professional help.
What should I do if the mirror cracks while removing?
Stop immediately. Carefully wear gloves, remove the broken pieces, and safely dispose of the glass using thick paper bags or wrapped bundles.
Is it safe to reuse a bathroom mirror?
Yes, if unbroken. Clean thoroughly, check for edge damage, and reframe or remount using proper support for safety.
How do I patch the wall after mirror removal?
Fill holes with spackle or wall joint compound, smooth out with a putty knife, let dry completely, sand gently, and paint to match the wall color.
Can I hang something else in place of the removed mirror?
Definitely! After patching, sand and repaint the area. Then install a new mirror, cabinet, or vanity upgrade based on the refreshed space.

