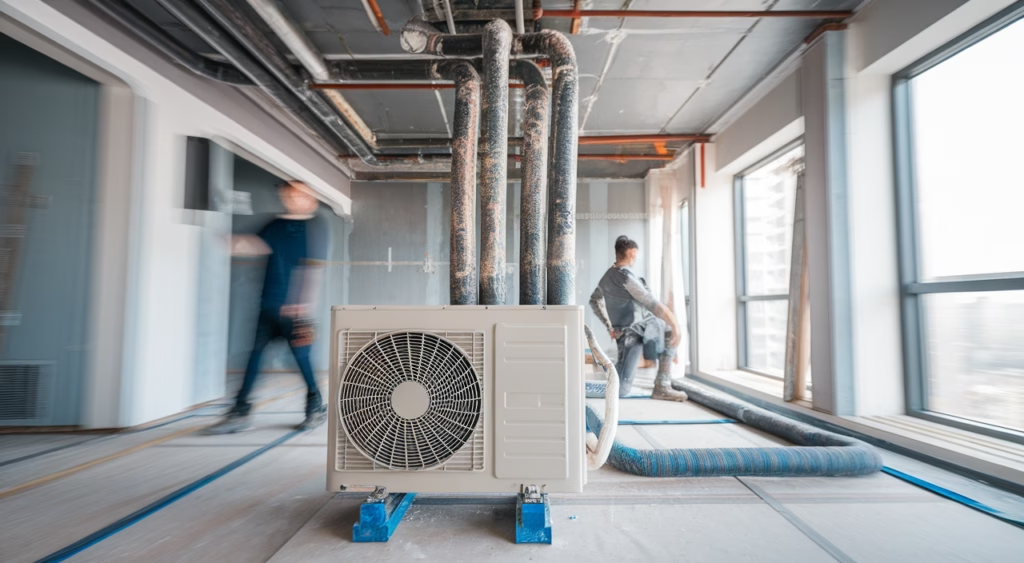
BTO air-con installation timing works best as a two-stage process: plan the system before renovation begins, install the concealed pipes, drain lines and required wiring before false ceilings and built-in carpentry close the routes, then mount and commission the indoor units after dusty work and painting are substantially complete. This sequence protects the equipment while reducing visible trunking, rework and damage to finished surfaces.
The exact programme depends on your flat, air-conditioner design and renovation scope. Your air-con installer, electrician and renovation contractor should agree on unit positions, pipe routes, drainage and access before work starts. HDB owners should also check the official HDB air-conditioner installation guidelines for the conditions that apply to their flat and installation.
HDB states that air-con installation work in flats with a 40-amp main switch does not require a permit, although the applicable guidelines still apply. Owners of flats with a 30-amp main switch should check HDB’s specific requirements before installation. Confirm the flat’s electrical provision instead of assuming that every HDB home follows the same process.
When should air-con work happen during a BTO renovation?
There is no single day that suits every project. A reliable schedule separates the concealed preparation, often called the first fix or pre-piping stage, from the final installation and testing.
1. Plan before renovation work begins
Confirm the rooms that need cooling, likely indoor-unit positions, the outdoor-unit location, pipe and drain routes, and how technicians will reach every component for future servicing. This should happen while the electrical layout, ceiling plan and carpentry drawings can still be adjusted.
Planning early prevents conflicts such as an air-con drain crossing a cabinet, a fan-coil unit competing with a full-height wardrobe, or a false ceiling blocking the filter cover. It also gives the electrician time to confirm the appropriate electrical arrangement for the selected system and the installer time to check the applicable HDB requirements.
2. Complete hacking and confirm the final layout
If approved hacking or masonry work is part of the renovation, complete it before committing to concealed routes. The installer should mark the planned fan-coil positions, pipe path, drain gradient and penetrations on site. The main contractor can then compare those markings with lighting, ceiling, curtain, door and carpentry plans.
3. Install concealed services before ceilings and carpentry close
Run the approved refrigerant piping, insulation, condensate drainage and associated cables while the relevant routes remain accessible. In many projects, this occurs after the layout is fixed but before false-ceiling boards, box-ups and built-in cabinets conceal the area.
This is the most important coordination point. Concealed work should not be covered until the responsible contractors have checked the route, joints, insulation, drainage and required access. Photographing the completed routes before they disappear can help future maintenance teams understand what lies behind a ceiling or enclosure.
4. Close ceilings, complete carpentry and paint
Once the concealed services have been checked, the renovation team can finish the ceiling, box-up or cabinetry around the agreed openings. Protect pipe ends and installation points from dust, paint and impact. Do not create an enclosure that prevents the fan-coil cover from opening or restricts airflow around the indoor or outdoor unit.
5. Mount, connect and commission the equipment
Install the indoor units after heavy dust-producing work and major painting are complete. The installer can then connect the system, check drainage, test operation and explain cleaning and maintenance access. Schedule this before final handover so there is time to correct a leak, vibration, access problem or finishing defect without disrupting an occupied home.
A practical BTO air-con renovation sequence
- Design stage: choose the rooms to cool and coordinate the air-con, electrical, ceiling and carpentry layouts.
- Site confirmation: verify measurements, equipment locations, the outdoor-unit position, drainage and access.
- First fix: install and inspect concealed pipes, insulation, drains and relevant cabling before closure.
- Closure and finishes: complete ceilings, box-ups, carpentry and painting while protecting the prepared services.
- Final installation: mount the units, make final connections and test the complete system.
- Handover: retain the installation documents, model details, warranty information and photographs of concealed routes.
Use this sequence as a coordination framework, not as permission to alter structural elements or ignore project-specific requirements. HDB’s rules and the installer’s technical assessment take priority.
What should be decided before pre-piping?
Indoor-unit positions and airflow
Place each fan-coil unit where cooled air can circulate without blowing directly at the bed or being blocked by tall furniture. Check the required clearances for opening the cover, removing filters and servicing internal parts. A neat location is not useful if routine maintenance requires dismantling a cabinet.
Outdoor-unit location and technician access
Use the location intended for the flat and keep the unit serviceable. Do not enclose it in a way that restricts heat rejection or creates unsafe access. The applicable HDB conditions can vary with the flat’s electrical provision and installation arrangement, so confirm them before ordering equipment or starting work.
Condensate drainage
Every operating indoor unit produces condensate that must drain reliably. Agree on a suitable discharge route, adequate fall and accessible points for inspection or cleaning. Poor coordination can cause slow drainage, overflow, staining or difficult maintenance. Do not assume a visually short route is technically suitable.
Pipe concealment and future servicing
Concealment can improve the appearance of a room, but permanently trapping every connection behind finished work may make diagnosis and repair costly. Ask which components require access and where removable panels are sensible. Coordinate access panels with the ceiling and carpentry design instead of adding them as an afterthought.
Electrical requirements
Give the electrician the confirmed equipment information and installation plan. Avoid making assumptions about supply capacity, protective devices or connection points based on another flat. The installer and electrician should identify their respective responsibilities before walls or ceilings are closed.
How to choose an air-conditioner before renovation
Installation timing and equipment choice are connected. Decide early enough that the actual model configuration, dimensions and service clearances can inform the renovation drawings, but do not select equipment only because it has the largest quoted capacity.
- Capacity: ask the supplier to size the system for the rooms, heat exposure, occupancy and expected usage.
- System configuration: compare single-split and multi-split arrangements based on space, usage patterns, redundancy and maintenance implications.
- Efficiency: compare registered models using the energy label rather than relying only on marketing language.
- Dimensions and access: confirm that indoor and outdoor units fit the planned locations with the required clearances.
- After-sales support: understand the equipment warranty, installation workmanship coverage and maintenance expectations.
NEA advises consumers to buy registered regulated goods and use the energy label to identify more efficient appliances. Its official guide to the NEA energy label explains the tick rating and the annual energy-consumption information shown for air-conditioners.
Common timing mistakes to avoid
- Calling the installer after the false ceiling is finished: the preferred concealed route may no longer be accessible.
- Mounting indoor units before dusty work: renovation dust and accidental impact can affect new equipment.
- Letting trades work from separate drawings: small inconsistencies can create clashes between air-con routes, lights, cabinets and curtains.
- Covering concealed work without checking it: defects become harder and more expensive to reach after closure.
- Prioritising concealment over access: filters, drain lines and service points still need practical maintenance access.
- Changing the layout after pre-piping: moving a wardrobe, ceiling feature or fan-coil unit can require new routes and patching.
Questions to ask at the coordination meeting
- Which rooms and zones will the system serve?
- Where will each indoor and outdoor unit be located?
- What are the exact pipe, drain and cable routes?
- Which works must finish before pre-piping begins?
- Who checks concealed work before ceilings or cabinets close?
- What openings and access panels must the renovation team provide?
- When will the units be mounted, tested and handed over?
- Which HDB conditions, reports or notifications apply to this installation?
Put the agreed answers into the renovation schedule and drawings. A short written coordination record is more reliable than separate verbal instructions to several trades.
Frequently asked questions
Should air-con piping be installed before a false ceiling?
Yes, when the approved design routes piping or drainage above the false ceiling, those concealed services should be installed and checked before the ceiling boards close the space. The indoor units can be mounted later, after dusty work and major painting are complete.
Can the indoor air-con units be installed at the same time as the piping?
They can be, but separating the stages usually protects new indoor units from renovation dust, paint and impact. Complete the concealed preparation first, then mount and commission the units when heavy work is substantially finished.
When should I choose the air-con model for a BTO renovation?
Choose it during the design stage, before the electrical, ceiling and carpentry plans are finalised. The confirmed configuration, dimensions, capacity and service clearances should inform those plans.
Does every HDB air-con installation require the same approval?
No. HDB states that flats with a 40-amp main switch do not require a permit for air-con installation work, while owners of flats with a 30-amp main switch should check the applicable requirements. In every case, follow the current HDB guidelines and confirm the flat’s electrical provision before work starts.
What should be checked before concealed air-con work is covered?
Confirm the pipe and cable routes, insulation, condensate drainage, required access and coordination with ceilings and carpentry. Ask the responsible contractors to inspect the work and keep photographs of concealed routes before closure.