
How do I remove a backsplash without damaging my wall?
Successfully removing a backsplash without damaging your walls requires proper preparation, the right tools, and a methodical approach. Start by protecting surrounding surfaces, then carefully loosen tiles using a utility knife and pry bar before tackling adhesive removal. This systematic backsplash removal process ensures you’ll have smooth, undamaged walls ready for your next kitchen renovation project.
- 🛠️ Prep correctly: Use painter’s tape and plastic sheeting to protect nearby surfaces.
- 🔧 Start slow: Use a utility knife and pry bar to gently loosen and remove tiles.
- 🧼 Deal with adhesive: Remove leftover mastic or thin-set using a scraper or heat gun.
- 🧱 Smooth the wall: Repair any drywall dings with spackle or joint compound.
- 💡 Bonus tips: Use gloves, eye protection, and work in small sections.
1. Gathering Supplies and Preparing the Area
1.1. Essential Tools for Kitchen Backsplash Removal

Before you begin your backsplash removal project, gathering the right tools makes all the difference. Having proper equipment not only makes the job easier but also helps prevent damage to your kitchen walls and surrounding surfaces during the removal process.
| Tool | Purpose |
|---|---|
| Utility knife | Scores grout lines and cuts caulk seams |
| Putty knife or pry bar | Loosens and lifts tiles from the wall |
| Hammer or mallet | Helps nudge stubborn tiles during removal |
| Scraper or oscillating tool | Removes leftover adhesive and mastic |
| Safety gear (gloves, eye protection) | Prevents injuries during backsplash demolition |
1.2. Preparing Your Kitchen Work Area
Proper preparation is crucial for successful backsplash removal. Start by laying down drop cloths and protecting electrical outlets with painter’s tape. Turn off power to nearby switches to ensure safety during your kitchen renovation project.
Cover your countertops with cardboard or thick cloth, and tape plastic sheeting on adjacent walls or cabinets to shield them from scratches, dust, and tile debris. Mark any seams or edges with a pencil to help you stay within bounds during the removal process.
2. Step-by-Step Backsplash Removal Process
2.1. Loosening the Kitchen Tiles
Begin your backsplash removal by slicing any silicone caulk along the edges using a sharp utility knife. This breaks the seal and prevents accidentally pulling off paint from nearby walls. Use the knife to carefully trace grout lines between tiles—this weakens the grip of surrounding adhesive and makes tile removal much easier.
Insert your putty knife or pry bar between the wall and the tile. Apply steady, controlled pressure rather than brute force. Wiggle gently until you feel the tile loosen from the wall surface. If needed, tap lightly with a hammer to nudge it free without causing wall damage.
Pro tip for backsplash removal: Work from the edges inward. Corner tiles typically release their hold faster and give you a starting gap to wedge your tools into more easily.
2.2. Removing the Tiles Safely
Once tiles are loosened, begin your backsplash removal working in small, manageable sections. While it’s tempting to rush through the process, patience during tile removal saves you significant repair work later. For glass or ceramic backsplash tiles, expect some cracking—it’s completely normal during removal.
Catch falling tile fragments with a towel draped under the work area. Drop damaged tiles directly into a bucket and keep your workspace clear—this reduces your chance of stepping on sharp fragments during the backsplash removal process.
2.3. Dealing with Stubborn Adhesive
After completing tile removal, you’ll typically find adhesive residue (usually mastic or thin-set) still clinging to your wall. This stubborn substance can seem impossible to remove, but patience and the right technique make all the difference in your backsplash removal project.
Use a large putty scraper or oscillating tool to gradually chip away at the adhesive. If it proves too stubborn, try softening it with gentle heat—use a heat gun or hairdryer on low setting. Warm adhesive becomes more pliable and easier to remove without damaging the underlying drywall.
3. Cleaning Up and Finishing Touches
3.1. Cleaning the Wall Surface
Once you’ve completed the bulk of your backsplash removal, give the wall a thorough cleaning using a damp cloth and gentle degreasing cleaner. A vinegar solution or diluted dish soap works perfectly for this step. You’ll want to remove all leftover residue that could interfere with patching or future backsplash installation.
3.2. Repairing Wall Damage After Backsplash Removal
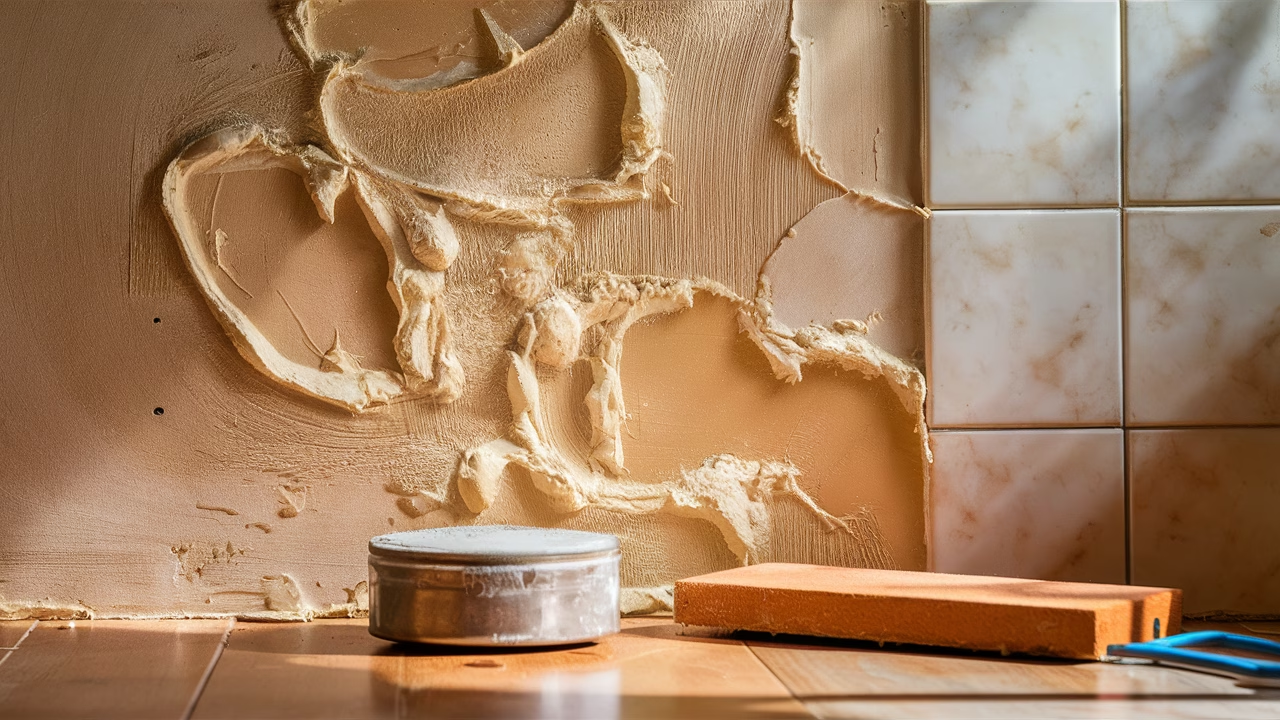
After backsplash removal, your wall likely isn’t perfectly smooth. Look for gouges, pulled drywall paper, or uneven areas that need attention. Use spackle or joint compound to fill in dents and imperfections left from the tile removal process.
For deeper damage from aggressive backsplash removal, you might need a drywall repair patch. Smooth everything using a drywall sanding block. You’ll know you’ve achieved the right finish when your wall feels completely smooth when you run your hand across the surface.
4. Pro Tips for Easy Backsplash Removal
Master-level backsplash removal doesn’t require professional training—just smart techniques and the right approach. Here are proven strategies that make kitchen backsplash removal significantly easier:
- Work in natural daylight: Better visibility helps you spot hairline cracks and tile seams during removal.
- Stubborn tiles? Use a multi-tool with carbide blade underneath—this technique is a complete game changer for backsplash removal.
- Prevent tile damage: Keep towels beneath your work area to safely catch shattered tiles during removal.
- Double up on protection: Wear both work gloves and eye protection—tile shards fly in unpredictable directions during backsplash removal.
- Adhesive removal hack: Soak stubborn mastic with warm, damp towels for 20 minutes before scraping—it softens significantly.
5. Cost Guide: How Much Does Backsplash Removal Cost?
Understanding backsplash removal costs helps you decide between DIY and professional installation. Doing the removal yourself can dramatically reduce expenses while giving you complete control over the process.
| Service Type | Estimated Cost |
|---|---|
| DIY backsplash removal (tools & supplies) | $50 – $150 |
| Handyman backsplash removal service | $200 – $400 |
| Full service contractor removal | $400 – $800+ |
If you’re working within a tight renovation budget, the DIY backsplash removal route is completely feasible with proper guidance and the right tools. Just factor in some extra time and elbow grease, and you’ll achieve professional-quality results.
Final Thoughts on Kitchen Backsplash Removal
Removing a kitchen backsplash might seem overwhelming at first, but with the right preparation and systematic approach, you’ll find it’s a very manageable DIY project. Whether you’re planning to install new tiles or paint over the area, starting with proper backsplash removal gives you the clean foundation needed for your kitchen renovation success.
The key to successful backsplash removal is staying patient, working methodically, and always prioritizing safety throughout the process. With these techniques, you’ll have professional-quality results without the professional price tag.
Frequently Asked Questions
- How to remove an existing kitchen backsplash?
Start by cutting away caulk along edges using a utility knife, then loosen tiles using a pry bar. Remove adhesive with a scraper or oscillating tool, and patch the wall with spackle if needed. - Is it hard to remove a tile backsplash?
Not if you prepare properly. With basic hand tools and caution, backsplash removal is a straightforward DIY project that most homeowners can handle. - Can you remove backsplash without ruining drywall?
Yes—use a gentle approach when prying tiles and soften adhesives with heat before scraping to prevent wall damage during backsplash removal. - Should I hire someone to remove my backsplash?
If you’re short on time or concerned about potential wall damage, hiring a professional for backsplash removal might be worth the investment. - How long does backsplash removal take?
For an average-sized kitchen backsplash, expect 3–5 hours if the removal is done properly and methodically. - What should I do after removing backsplash?
Clean the wall thoroughly, repair any damage with spackle, then prime the surface for paint or prep it for new backsplash installation.

