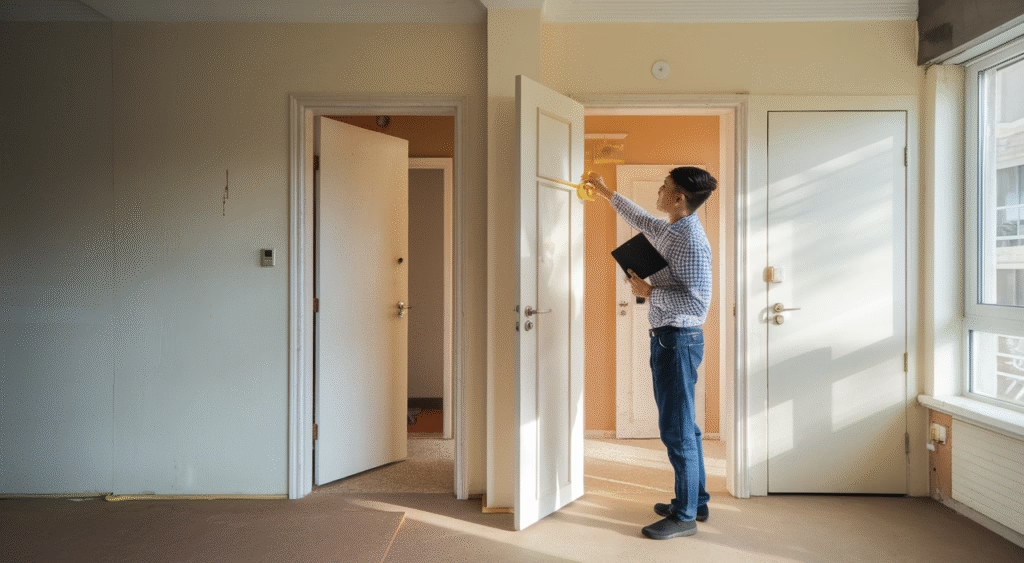
What is an HDB defects inspection and why is it crucial for your BTO flat?
Before you get caught up in renovation excitement, conducting a comprehensive HDB defects inspection should be your top priority as a new BTO homeowner. This critical step can save you thousands of dollars and countless headaches down the road.
An HDB defects inspection is your opportunity to identify and report construction defects in your new BTO flat — from leaking pipes and hollow tiles to misaligned windows and faulty electrical work. The Housing Development Board provides a Defects Liability Period specifically for this purpose, covering repairs at no cost to you. However, once you begin renovations, you forfeit warranty claims on original construction flaws that could have been covered.
TL;DR: Essential points for your HDB defects inspection
- Inspection First, Reno Later: Complete your HDB defects inspection before any renovation work begins. Starting renovations voids warranty claims on original fittings and construction.
- Critical Timing: You have 7 days from key collection to submit your BTO defect check, followed by a 12-month warranty period for newly discovered issues.
- Systematic Approach: Use a detailed room-by-room checklist to ensure you don’t miss hidden or minor defects that could become expensive problems.
- Proper Documentation: Report defects through HDB’s official channels with clear photos and precise descriptions for faster resolution.
- Active Follow-Up: Monitor rectification work closely and don’t hesitate to request re-work for unsatisfactory repairs.
Why Your HDB Defects Inspection Cannot Be Overlooked
1.1 Protecting Your Investment Through Thorough Inspection

Picture this: you’ve moved into your dream HDB BTO flat only to discover flooding toilets, drafty windows, and doors that won’t close properly. A proper HDB defects inspection prevents these nightmares by catching issues during the warranty period when HDB covers all repairs.
Many new homeowners focus only on obvious problems while overlooking subtle defects like slightly loose electrical outlets, minor water seepage, or uneven tile installation. These seemingly minor issues often escalate into major problems that require expensive repairs once you’re outside the warranty period.
The Defects Liability Period exists precisely because even quality construction can have flaws. Your thorough inspection ensures HDB addresses every issue before you take full responsibility for your new BTO flat’s condition.
Step-by-Step HDB Defects Inspection Process
2.1 Comprehensive Room-by-Room Inspection Checklist
Effective defects inspection requires systematic examination of every area in your new HDB BTO flat. Here’s your complete inspection checklist:
| Room | What to Check |
|---|---|
| Living Room | Wall alignment, flooring (hollow tiles), power sockets, leaking windows, window locks |
| Bedrooms | Wall paint consistency, door hinge function, ventilation grills, tile alignment |
| Kitchen | Sink drainage, taps and faucets, uneven flooring, switches, exposed wiring |
| Toilets | Flush system, tile grouting, leaking pipes underneath sink or tap, door alignment & waterproofing |
| Service Yard | Drainage slope, pipe fittings, wall damages, hanger system functionality |
| Main Door / Gate | Secure lock function, peephole clarity, closing/latching smoothly |
Bring masking tape and markers to clearly mark each defect you discover. Take multiple photos from different angles for your records. This documentation proves invaluable during the defects reporting process and ensures nothing gets missed during rectification.
HDB Defects Reporting Process and Rectification
3.1 Maximizing Your Warranty Coverage Through Proper Reporting
Once you’ve completed your BTO defect check, prompt reporting is essential for warranty coverage.
HDB provides a 7-day window from key collection for submitting your initial defects report. Use the Mobile@HDB app or complete the physical Defects Feedback Form, then submit it to your Building Service Centre (BSC). The BSC coordinates with contractors to address all reported issues during your warranty period at no cost.
Schedule joint inspections with your BSC to verify completed repairs. Never assume defects are properly fixed without personal verification. Inspect every marked location and don’t hesitate to request additional work if repairs don’t meet standards.
Expert Strategies for Optimal Move-In Experience
4.1 Advanced Tips for New HDB BTO Flats
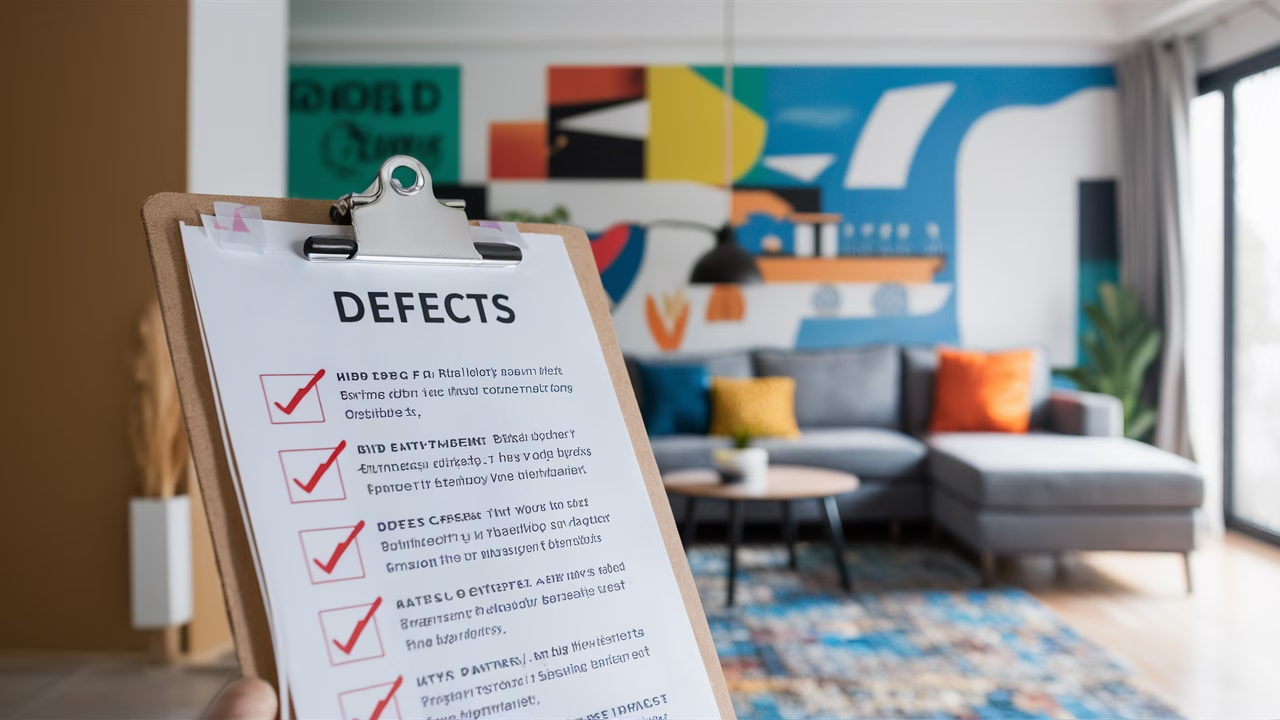
Here’s how experienced homeowners maximize their HDB defects inspection and warranty coverage:
- Comprehensive Documentation: Create digital folders containing photographs, floor plan annotations, and all BSC correspondence for easy reference.
- Post-Renovation Monitoring: If renovation work doesn’t affect plumbing or electrical systems, reinspect these areas before your warranty expires.
- Pattern Recognition: Monitor for recurring issues like intermittent leaks that might indicate deeper problems requiring comprehensive fixes.
- Quality Standards: Hold contractors accountable for proper repairs and reject substandard work that doesn’t fully resolve defects.
Create an Excel tracking sheet organized by room and defect type to monitor resolution timelines. This systematic approach ensures no defects slip through the cracks during the rectification process.
Cost Guide: Should You Hire a Private Inspector?
Many new homeowners wonder whether professional defects inspection services provide value beyond DIY approaches. Here’s a realistic cost breakdown:
| Service Level | Estimated Cost | What You Get |
|---|---|---|
| Self-Inspection | $0 | DIY checklist, time-consuming but free |
| Basic Package (Studio / 2R) | $200–$300 | Room scan, photo documentation, report submission |
| Standard (3R/4R/5R Units) | $350–$500 | Detailed room-by-room audit, summary sheets, follow-up verification |
| Premium with Post-reno Check | $600–$900 | Before/after comparison, leak tests, thermal imaging for insulation |
Frequently Asked Questions About BTO Defect Checks
Is a BTO defect check necessary even if my flat looks fine?
Absolutely. Visual appeal doesn’t guarantee structural integrity or proper installation. Hidden defects like water seepage, electrical faults, or insulation problems may not be immediately visible but can cause significant damage over time.
What tools should I bring for an HDB defects inspection?
Essential tools include masking tape, permanent markers, flashlight, smartphone with camera, spirit level, and phone charger to test all electrical outlets and switches.
Can I start renovations before HDB finishes rectifications?
No. Begin renovations only after HDB completes all defect rectifications and you’ve verified the work quality. Starting early risks voiding warranty coverage for remaining issues.
How long does the defect rectification process take?
Most rectification work takes 2–4 weeks depending on your defects list complexity and BSC scheduling. Minor issues like loose fittings may be resolved within days, while major repairs take longer.
Can I report new defects after the initial 7 days?
Yes. The initial 7-day period covers your first comprehensive report. Throughout the 12-month Defects Liability Period, you can report newly discovered issues that weren’t apparent initially.
Is there any penalty for excessive defect reports?
No penalties exist for legitimate defect reports. Report every issue you find — thorough documentation protects your investment and ensures proper construction standards.
Are all defects covered under warranty?
Warranty covers construction and workmanship defects from the original building process. Damage from user negligence, unauthorized modifications, or normal wear and tear isn’t included in warranty coverage.

