Introduction: Understanding the Importance of Soundproofing
As someone who dedicates their career to the science and art of sound, I can tell you firsthand that the quality of your sleep environment profoundly impacts your overall health and well-being. For homeowners and renters across the 25-55 age bracket, the dream of a peaceful, quiet bedroom often feels elusive amidst the cacophony of modern life. Whether it's the insistent thrum of street traffic, the animated conversations of neighbors, or even the sounds emanating from other rooms within your own home, unwanted noise can disrupt sleep cycles, increase stress levels, and diminish your sense of tranquility. The quest to soundproof bedroom spaces isn't merely about blocking out noise; it's about reclaiming your personal sanctuary, fostering restorative sleep, and creating an environment where true relaxation can flourish.
Think about it: your bedroom should be a refuge, a place where you can unwind completely at the end of a long day. When that refuge is constantly infiltrated by external disturbances, its primary purpose is undermined. From an acoustical perspective, noise intrusion is a multi-faceted problem. It can be airborne, traveling through the air via gaps, cracks, or thin barriers, or it can be impact noise, transmitted directly through structural elements like floors or walls. Understanding the nature of the noise you're trying to combat is the first critical step in effective room soundproofing. Without this foundational understanding, you risk investing time and money into solutions that don't address the root cause of your specific noise problem. This guide is designed to empower you with expert knowledge, offering practical advice and actionable strategies to transform your bedroom into the quiet haven you deserve, tackling everything from material selection to innovative installation techniques and budget-friendly options.
How can you truly transform your bedroom into a sanctuary of silence without breaking the bank or hiring a full crew?
Achieving genuine bedroom noise isolation is entirely possible, even if you're working with a limited budget or prefer a do-it-yourself approach. The key lies in understanding fundamental soundproofing principles and strategically applying targeted solutions that maximize impact for your specific noise challenges. You don't always need extensive renovations; often, a combination of smart material choices, careful sealing, and creative DIY soundproofing ideas for better sleep can yield remarkable results, providing effective soundproofing methods for noisy neighbors and general household clamor.
Choosing the Right Materials: Foundations of a Quiet Space
Selecting the appropriate materials is paramount to achieving effective bedroom noise isolation. It's not just about adding "stuff"; it's about understanding how different materials interact with sound waves. As an acoustic professional, I emphasize that the goal is primarily to add mass, introduce damping, and create decoupling. These principles are what allow materials to absorb sound energy, reflect it, or prevent its transmission. When considering the best soundproofing materials, it's crucial to think about the Sound Transmission Class (STC) rating, which indicates a material's ability to block airborne sound, and in some cases, the Noise Reduction Coefficient (NRC), which measures sound absorption. Competitors often overlook this critical detail, leaving homeowners guessing. We aim to provide specific recommendations, guiding you through a landscape of options tailored to various needs and budgets.
Types of Soundproofing Materials
The market offers a diverse range of materials, each with unique properties suited for different applications. Understanding these distinctions is crucial for tailoring your soundproofing strategy:
- Mass Loaded Vinyl (MLV): This is a heavy, flexible material often described as "limp mass." It's incredibly effective at blocking airborne noise due to its high density. MLV can be draped over walls, laid under carpets, or sandwiched between layers of drywall. Its flexibility makes it versatile for wrapping pipes or conforming to irregular surfaces. It adds significant mass without excessive thickness, making it ideal for walls and ceilings where space is a concern.
- Acoustic Panels: Designed primarily for sound absorption rather than blocking. These panels, often made from fiberglass or mineral wool, trap sound waves within their porous structure, reducing echo and reverberation within a room. While they don't stop sound from entering or leaving a room, they significantly improve the acoustic quality inside, making the room feel quieter. They are excellent for reducing internal noise and flutter echo.
- Soundproof Drywall (QuietRock or similar): This specialized drywall features multiple layers of gypsum board laminated with a viscoelastic damping compound. It offers significantly higher STC ratings than standard drywall, effectively blocking sound transmission through walls and ceilings. It's a robust solution for new constructions or major renovations.
- Green Glue Damping Compound: This is a viscoelastic polymer applied between two layers of rigid material, typically drywall. It converts sound energy into heat, dissipating it before it can pass through the assembly. It's incredibly effective for damping vibrations and significantly increasing the STC rating of a wall or ceiling without adding excessive thickness.
- Acoustic Insulation (Mineral Wool or Fiberglass Batts): Unlike thermal insulation, acoustic insulation is specifically designed to trap sound waves within wall cavities. While standard fiberglass insulation offers some acoustic benefits, denser mineral wool products are superior for sound absorption and damping internal wall resonance. Installing this within stud cavities significantly improves the STC rating of walls.
- Weatherstripping and Door Sweeps: Often overlooked, these simple additions are vital for sealing gaps around doors and windows. Sound, like water, will find the path of least resistance. Even a small gap can compromise the entire soundproofing effort. High-quality adhesive weatherstripping for door frames and a sturdy door sweep for the bottom of the door can dramatically reduce airborne noise leakage.
- Acoustic Caulk (Sound Sealant): This flexible, non-hardening sealant is crucial for sealing small cracks, gaps, and penetrations (like around electrical outlets or light fixtures) in walls, floors, and ceilings. It maintains an airtight seal, preventing sound from flanking around other soundproofing materials.
Factors to Consider When Selecting Materials
Choosing the right material isn't a one-size-fits-all decision. Several factors must influence your choices:
- Budget: This is often the primary constraint. While specialized soundproof drywall offers superior performance, it comes at a higher cost. MLV and Green Glue provide excellent value for their performance, while weatherstripping and acoustic caulk are highly cost-effective for targeted improvements. We will delve into more budget-friendly solutions shortly.
- Existing Structure: Are you dealing with thin drywall, hollow doors, or old, leaky windows? The current construction dictates which materials will be most effective. For instance, adding MLV or an extra layer of drywall with Green Glue is ideal for thin walls, while window inserts are best for problematic windows.
- Noise Source (Airborne vs. Impact): Understanding the type of noise is critical. Airborne noise (voices, music, traffic) is best tackled with mass, damping, and airtight seals. Impact noise (footfalls from upstairs, banging) requires decoupling and resilient layers, such as rubber underlayments under flooring or resilient channels in ceilings.
- Aesthetic Impact: Some solutions, like acoustic panels, can be part of the room's decor, available in various colors and fabrics. Others, like MLV, are typically hidden behind drywall or other finishes. Consider whether the material will be visible and if its appearance aligns with your desired aesthetic.
- DIY Feasibility: Some materials are easier for a DIY enthusiast to install than others. Weatherstripping, door sweeps, and acoustic caulk are very user-friendly. Installing soundproof drywall or resilient channels, while achievable, requires more skill and potentially extra hands.
- Space Constraints: Adding layers of materials can reduce room dimensions. MLV is thin and dense, making it excellent for space-constrained areas. Conversely, building a new decoupled wall will take up several inches.
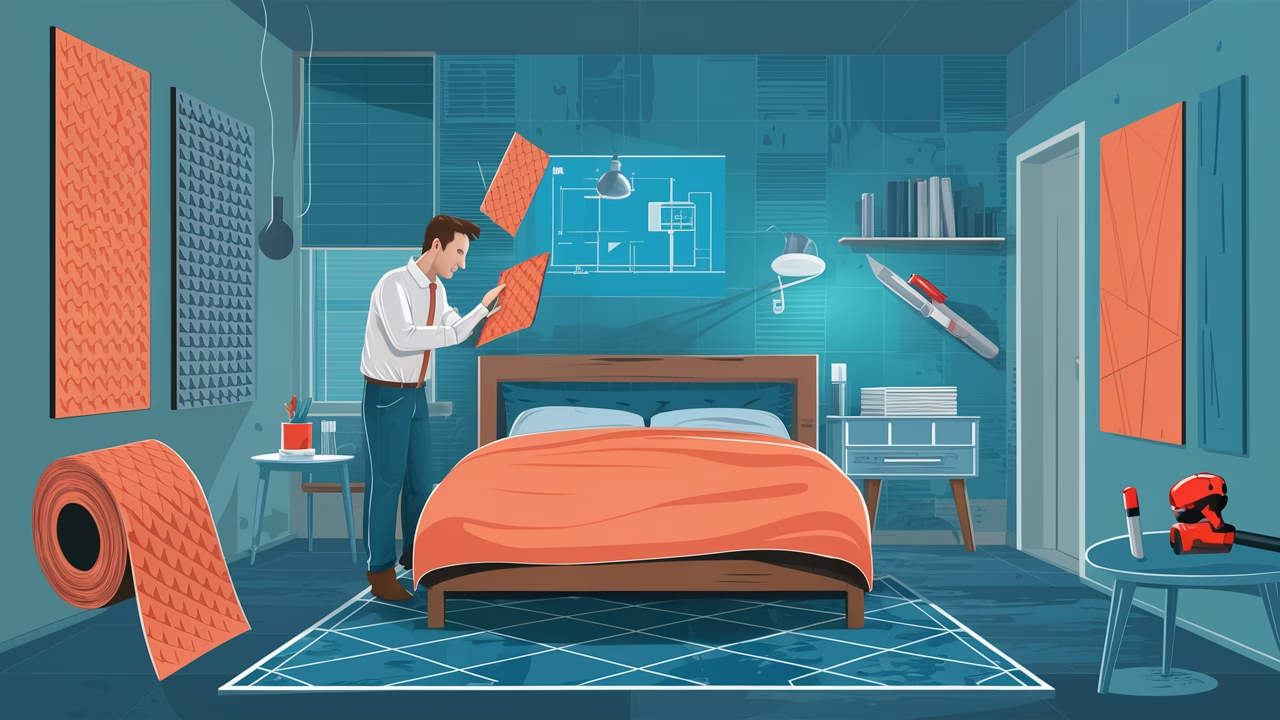
Effective Installation Techniques: Sealing the Silence
Even the best soundproofing materials will fail if not installed correctly. This is where many DIY projects fall short and where competitors often provide vague instructions. As an acoustic engineer, I cannot stress enough the importance of meticulous installation. Sound is opportunistic; it will find the smallest gap or weakest point in your barrier and exploit it. Our focus here is on creating comprehensive noise reduction techniques through proper application, ensuring that the materials perform to their maximum potential. We'll look at how to block noise from other rooms by fortifying your bedroom's primary entry points and structural elements.
Walls: Adding Mass, Damping, and Decoupling
Walls are typically the largest surface area in a bedroom and often the primary conduit for external noise. Effective wall soundproofing focuses on three core principles:
- Adding Mass: The more mass a wall has, the harder it is for sound waves to vibrate through it. The simplest way to add mass is by adding an extra layer of drywall. However, for superior performance, use specialized soundproof drywall or combine standard drywall with Mass Loaded Vinyl (MLV). When adding a second layer of drywall, staggering the seams of the new layer relative to the existing one is critical to prevent sound leakage through continuous gaps.
- Introducing Damping: Damping materials convert sound energy into heat, reducing vibrations. The most effective damping technique for walls is applying a viscoelastic compound like Green Glue between two layers of drywall. After applying Green Glue to the back of the second drywall sheet, screw it directly over the existing wall. This creates a "constrained layer damping" system that significantly improves the wall's STC rating.
- Decoupling: This is the gold standard for blocking noise from other rooms, especially airborne sound. Decoupling means physically separating the two sides of a wall assembly so that vibrations from one side aren't directly transferred to the other.
- Resilient Channels: These metal furring strips are attached horizontally to wall studs, and drywall is then screwed into the channels, not directly into the studs. This creates a "spring" effect, isolating the drywall from the frame and reducing vibration transfer.
- Staggered Studs or Double-Stud Walls: For new construction or major renovations, building a wall with staggered studs (where studs for one side of the drywall are offset from the studs for the other side) or a completely separate double-stud wall (two parallel frames separated by an air gap) offers exceptional decoupling. Fill the cavity with acoustic insulation for optimal results.
- Sealing Gaps: Before adding any new layers, seal all existing cracks and penetrations in the wall (e.g., around electrical boxes, plumbing pipes) with acoustic caulk. Use foam gaskets behind electrical outlets and switch plates.
Doors and Windows: The Weakest Links
Doors and windows are often the weakest points in a bedroom's soundproofing envelope. Even well-insulated walls can be undermined by leaky openings.
- Doors:
- Seal Gaps: Install high-quality, adhesive-backed weatherstripping around the perimeter of the door frame. Ensure a tight seal when the door is closed.
- Door Sweeps/Bottom Seals: Install an automatic door sweep or a heavy-duty brush sweep along the bottom of the door to seal the gap between the door and the threshold.
- Add Mass: Solid core doors offer significantly better sound blocking than hollow core doors. If replacing is not an option, you can add mass to an existing door by attaching a layer of MLV or thin plywood to its surface and painting it to match.
- Door Gasketing Kits: For superior performance, consider a full door gasketing kit that includes seals for the top, sides, and bottom, creating an airtight seal.
- Windows:
- Seal Gaps: Caulk any visible gaps around the window frame where it meets the wall, both inside and out. Ensure windows close tightly and replace any worn weatherstripping.
- Thick Curtains/Drapes: While not true soundproofing, heavy, lined curtains or acoustic drapes can offer some sound absorption and block a small amount of airborne noise. They are particularly good at reducing internal echo.
- Window Inserts: These are custom-fit acrylic or laminated glass panels that sit inside your existing window frame, creating an additional air gap and significantly improving the window's STC rating without requiring window replacement. They are a highly effective method for noise reduction techniques through windows.
- Secondary Glazing: Installing a second, separate window frame and pane of glass inside your existing window can also dramatically improve sound isolation.
Floors and Ceilings: Addressing Impact and Airborne Noise
Noise from above (footfalls, dropped objects – impact noise) and below (voices, music – airborne noise) can be particularly disruptive. Effective soundproofing here often involves layering and decoupling.
- Floors (for noise below):
- Thick Underlayment: Installing a dense rubber or cork underlayment beneath carpet, laminate, or engineered wood flooring helps to absorb impact vibrations before they reach the structure below.
- Mass Loaded Vinyl (MLV): Laying MLV directly on the subfloor before installing the underlayment and finished flooring adds significant mass to block airborne noise.
- Floating Floors: For maximum performance, a "floating" floor system involves constructing a new floor layer that is isolated from the existing subfloor and walls using resilient mounts or pads.
- Ceilings (for noise above):
- Resilient Channels: Similar to walls, attaching resilient channels to the ceiling joists before installing new drywall (preferably soundproof drywall) can significantly reduce airborne and impact noise from above.
- Acoustic Insulation: Filling the joist cavities with dense mineral wool insulation will absorb sound and damp vibrations within the ceiling structure.
- Green Glue: Applying Green Glue between two layers of drywall on the ceiling is highly effective for damping.
- Acoustic Ceiling Tiles: While typically seen in commercial settings, some aesthetically pleasing acoustic ceiling tiles can be installed in a grid system to absorb sound, although they are less effective at blocking noise than a mass/damping/decoupling strategy.
Budget-Friendly Solutions: DIY Soundproofing Ideas for Better Sleep
Achieving a quiet bedroom doesn't always require a professional acoustic overhaul. As an expert who understands the financial realities many homeowners and renters face, I'm keen to share practical, cost-effective solutions that can significantly improve your bedroom noise isolation without a hefty investment. These DIY soundproofing ideas for better sleep are designed to be accessible, allowing you to gradually build a more peaceful environment. Many of these methods leverage fundamental principles of soundproofing – adding mass, sealing gaps, and absorbing sound – using readily available materials. Competitor articles often gloss over these crucial budget options, leaving you feeling like expensive solutions are the only way forward. We believe in empowering you with choices that make a difference.
DIY Soundproofing Ideas for Cost-Effective Noise Reduction
Let's explore some clever, inexpensive ways to reduce noise and enhance your sleep quality:
- Seal All Gaps and Cracks: This is arguably the most impactful and cheapest step. Sound travels through air. Even tiny gaps around windows, doors, electrical outlets, or where walls meet the ceiling can let in a surprising amount of noise.
- Acoustic Caulk: Use high-quality acoustic caulk (or even regular paintable caulk for small gaps) to seal all visible cracks in walls, ceilings, and around window/door frames. This creates an airtight barrier.
- Weatherstripping: Apply adhesive-backed foam or rubber weatherstripping around the perimeter of your bedroom door frame and window frames. This is excellent for blocking airborne noise from the hallway or outside.
- Door Sweeps: Install a simple door sweep or a draft stopper at the bottom of your bedroom door to seal the gap.
- Outlet Gaskets: Use foam gaskets behind electrical outlet and switch plates. These are inexpensive and prevent sound from traveling through the hollow electrical boxes.
- Maximize Soft Furnishings: Soft, porous materials absorb sound, reducing echo and reverberation within the room, making it feel quieter. While they don't block sound from entering, they improve the internal acoustics.
- Thick Curtains and Drapes: Opt for heavy, lined curtains or drapes, especially thermal ones, that cover the entire window and extend beyond the frame. These add mass and absorption to your windows.
- Area Rugs: Place thick area rugs, especially those with dense padding, on hard floors (wood, tile, laminate). This not only absorbs sound but also reduces impact noise if you're dealing with noise from below.
- Upholstered Furniture: Incorporate upholstered chairs, sofas, or a headboard. The fabric and padding will contribute to sound absorption.
- Pillows and Blankets: Utilize extra pillows, throws, and blankets. They are quick and easy absorbers of sound.
- Rearrange Furniture: Strategic placement of furniture can act as a barrier or absorber.
- Bookshelves: A full bookshelf against a shared wall can add significant mass and density, helping to block sound. The irregular surface of books also helps diffuse sound waves.
- Wardrobes/Dressers: Placing a large, heavy wardrobe or dresser against a problematic wall can serve a similar purpose, adding mass and acting as a buffer.
- Temporary Window Solutions:
- Heavy Blankets/Moving Pads: For temporary but effective noise reduction, especially at night, consider hanging heavy blankets or moving pads over your windows. Use tension rods or temporary hooks.
- DIY Window Plugs: Cut a piece of foam board or rigid insulation to fit snugly inside your window frame. Cover it with fabric for aesthetics. This creates a solid barrier and an air gap.
- DIY Wall Panels:
- Fabric-Wrapped Panels: Create your own acoustic panels by wrapping dense fiberglass or mineral wool insulation (ensure it's encapsulated to prevent fiber release) with an aesthetically pleasing fabric. Frame them with wood for a professional look and hang them on walls or ceilings to absorb sound.
- Mass Loaded Vinyl (MLV) on a Budget: While MLV can be expensive for full wall coverage, consider using smaller sections strategically. For example, attach MLV to the back of a large piece of artwork or a tapestry and hang it on a shared wall. This provides targeted mass without a full installation.
Prioritizing Your Efforts: Where to Focus for Maximum Impact with Minimal Spend
When working on a budget, it's essential to prioritize. Think like an acoustic engineer: identify the weakest links in your bedroom's sound barrier. Often, these are:
- Gaps and Leaks: Always start by sealing every visible gap around doors, windows, and through-wall penetrations. This is the "low-hanging fruit" of soundproofing and offers the best return on investment. You'd be surprised how much noise a tiny crack can let through.
- Doors: A hollow-core door is a major sound leak. Upgrading to a solid core door or adding mass (MLV, dense board) to an existing door, combined with comprehensive weatherstripping and a door sweep, will make a significant difference.
- Windows: If street noise is your primary concern, windows are critical. After sealing, consider heavy curtains or DIY window plugs before investing in more expensive window inserts.
- Shared Walls: If a noisy neighbor is the issue, focusing on the shared wall with added mass (e.g., a heavy bookshelf, MLV behind artwork) and perhaps an extra layer of drywall with Green Glue if your budget allows, will be most effective.
By systematically addressing these points, you can achieve substantial noise reduction without overspending, creating a more peaceful and quiet bedroom environment that truly supports better sleep.
Case Studies and Examples: Real-Life Quiet Transformations
Theoretical advice is good, but seeing how these noise reduction techniques and material recommendations play out in real-world scenarios brings the concepts to life. Competitor articles frequently miss this vital element, leaving readers without concrete examples of successful soundproofing projects. As an acoustic engineer, I've advised on countless situations, and these fictionalized case studies illustrate the power of strategic soundproofing. They demonstrate how different solutions, from advanced installations to simple DIY fixes, can effectively block noise from other rooms and create serene living spaces, perfectly demonstrating effective soundproofing methods for noisy neighbors and internal disruptions.
Real-Life Examples of Successful Soundproofing Projects
Case Study 1: The Apartment Dweller and the Noisy Neighbors
Client Profile: Sarah, a 30-year-old marketing professional living in a bustling city apartment. Her bedroom shared a wall with a lively couple whose late-night conversations and music regularly disturbed her sleep. She was a renter and had a moderate budget, primarily looking for solutions to soundproof a bedroom wall on a budget.
The Problem: Airborne noise (voices, music) easily penetrated the thin drywall of the shared wall, leading to constant sleep disruptions and frustration.
Our Approach:
- Initial Assessment: We identified the shared wall and the connecting door as primary noise pathways.
- Gaps & Seals First: Sarah started by sealing all visible cracks around the shared wall and the door frame with acoustic caulk. She installed high-quality adhesive weatherstripping around her bedroom door and added a robust door sweep. This alone reduced the noise by a noticeable margin.
- Strategic Mass Addition (DIY): As a renter, Sarah couldn't undertake major renovations. We recommended strategically placing a large, heavy bookshelf filled with books against the shared wall. Behind the bookshelf, she temporarily mounted a layer of Mass Loaded Vinyl (MLV) cut to size, attaching it with removable adhesive strips. This significantly increased the mass of the wall.
- Window Treatment: Her window faced a busy street. While not directly from neighbors, this added to the overall noise. Sarah invested in thick, thermal, noise-reducing curtains that extended beyond the window frame.
Result: Sarah reported a dramatic improvement in her sleep quality. The combination of sealing gaps, adding mass with the MLV and bookshelf, and improving window insulation reduced the neighbor's noise to a mere murmur, transforming her bedroom into a much quieter sanctuary.
Case Study 2: The Homeowner and the Loud Kids Upstairs
Client Profile: Mark and Lisa, homeowners in their late 40s, were constantly disturbed by impact noise (running, jumping) from their children's playroom directly above their master bedroom. They had a more flexible budget and were willing to invest in a lasting solution.
The Problem: Significant impact noise transmission through the ceiling into their bedroom, along with some airborne noise from the playroom.
Our Approach:
- Targeted Ceiling Treatment: Instead of tackling the floor above (which would disrupt the playroom), we focused on the bedroom ceiling. We recommended installing resilient channels perpendicular to the existing ceiling joists.
- Insulation and Damping: Before installing new drywall, we filled the joist cavities with dense mineral wool insulation. Two layers of standard drywall were then attached to the resilient channels, with Green Glue damping compound applied liberally between the layers. This addressed both airborne noise and significantly damped impact vibrations.
- Light Fixtures: Care was taken to seal around recessed light fixtures with acoustic caulk and foam gaskets to prevent sound flanking.
Result: Mark and Lisa experienced a profound reduction in both impact and airborne noise from the playroom. The resilient channels decoupled the ceiling, while the insulation, mass, and damping compound created a formidable barrier. Their bedroom became a much more peaceful retreat, allowing them to finally enjoy uninterrupted sleep.
Case Study 3: The Renter with a Home Office Adjacent to the Living Room
Client Profile: David, a 28-year-old remote worker living in a rental. His "bedroom" doubled as his home office, situated right next to the living room where his roommates frequently watched TV or had conversations. He needed room soundproofing that was effective but entirely reversible for his rental agreement, focusing on DIY soundproofing ideas for better sleep and work concentration.
The Problem: Airborne noise from the living room constantly bled into his bedroom/office, making it difficult to concentrate during the day and relax at night.
Our Approach:
- Door Focus: The biggest culprit was the hollow-core bedroom door. David purchased a temporary soundproofing blanket (heavy, dense material with grommets) and hung it over the door using removable hooks. He also installed a temporary, adjustable door sweep.
- Wall Absorption: He created several DIY acoustic panels by wrapping dense foam boards (easily reversible) with fabric and hanging them strategically on the shared wall using picture-hanging strips. While these don't block noise entirely, they absorb sound within his room, making the living room noise less jarring.
- Acoustic Curtains: He already had large windows, so he invested in a set of heavy, blackout acoustic curtains that added an extra layer of absorption and some mass.
Result: David found that the combination of the door blanket, DIY acoustic panels, and heavy curtains significantly improved the acoustic comfort of his bedroom/office. The noise from the living room was still present but considerably muffled, allowing him to concentrate better during work hours and wind down more effectively in the evenings. All solutions were easily removable upon moving.
These examples illustrate that regardless of your situation—renter or homeowner, dealing with airborne or impact noise, or working within a tight budget—effective soundproofing is achievable. The key is a targeted approach, understanding where the sound is coming from, and applying the right combination of noise reduction techniques and materials to create your ideal quiet space. By addressing the competitor's gaps in providing specific, actionable examples, we hope these case studies provide you with the confidence and inspiration to embark on your own soundproofing journey.
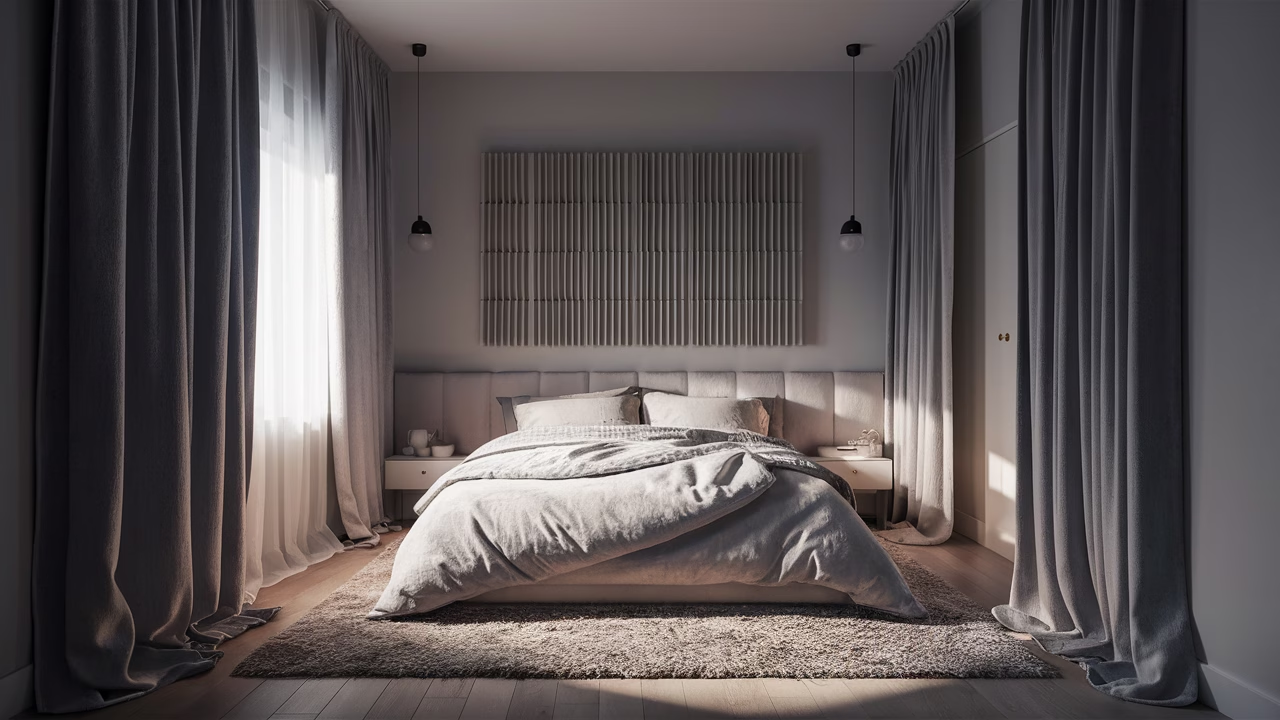
Conclusion: Final Tips for Achieving a Peaceful and Quiet Bedroom
We've journeyed through the intricate world of acoustic engineering, translating complex principles into practical, actionable steps for anyone looking to create a truly quiet and serene bedroom environment. From understanding the science behind sound transmission to selecting the best soundproofing materials and applying effective installation techniques, our aim has been to equip you with the knowledge and confidence to tackle noise intrusion head-on. We've directly addressed the common oversights in competitor articles by providing specific recommendations for materials, detailing installation nuances, offering a plethora of cost-effective and DIY solutions, and grounding our advice in real-world examples. Remember, achieving a soundproof bedroom is not a single, grand gesture, but often a series of strategic, well-executed steps.
The pursuit of bedroom noise isolation is an investment in your well-being. A quiet space fosters better sleep, reduces stress, and enhances your overall quality of life. As an acoustic engineer, I consistently observe that even incremental improvements can lead to significant psychological and physiological benefits. Whether you're contending with the persistent hum of city life, the boisterous activities of neighbors, or the general hubbub of a busy household, there are viable and effective noise reduction techniques at your disposal.
Here are my final, overarching tips to ensure your soundproofing efforts are successful and sustainable:
- Start with the "Leak Check": Before investing in any major materials, meticulously inspect your bedroom for air leaks. Windows, doors, electrical outlets, and any visible cracks are common culprits. Sealing these with acoustic caulk, weatherstripping, and door sweeps offers the most cost-effective and immediate improvement in blocking airborne noise from other rooms. This foundational step is often overlooked but profoundly impactful.
- Identify Your Primary Noise Source: Is it airborne (voices, music, traffic) or impact (footfalls, vibrations)? Knowing this guides your material selection. Airborne noise demands mass and airtight seals, while impact noise requires decoupling and resilient layers.
- Layer Up: Think in terms of layers and systems, not just individual products. A single piece of foam won't create a soundproof barrier. Combining mass (e.g., drywall, MLV), damping (Green Glue), and absorption (insulation, acoustic panels) within a wall, ceiling, or floor assembly is far more effective.
- Don't Forget the "Flanking" Paths: Sound can bypass your primary barrier. Consider flanking paths like HVAC ducts, plumbing penetrations, or gaps above suspended ceilings. Ensure these are also sealed or treated where possible.
- Prioritize Based on Budget and Effort: If your budget is tight, focus on the most impactful, cost-effective solutions first—sealing gaps, improving your door, and adding heavy window treatments. For more significant issues, gradually implement more comprehensive solutions like adding drywall layers with damping compound or employing resilient channels.
- Embrace DIY When Appropriate: Many effective soundproofing methods for noisy neighbors and general noise reduction can be tackled by a diligent DIY enthusiast. Resources like tutorials and online communities can provide invaluable support.
- Be Patient and Methodical: Soundproofing is often a process of iteration. Make changes, assess their impact, and then adjust your strategy. You may not achieve perfect silence overnight, but consistent effort will lead to significant improvements.
Your bedroom should be a haven, a place of peace and uninterrupted rest. By applying the expert advice and practical strategies outlined in this guide, you are well on your way to creating that perfectly quiet space. Embrace the challenge, and soon, you'll be enjoying the golden silence you deserve for truly peaceful sleep.
TL;DR: Your Blueprint for a Quiet Bedroom Oasis
Tired of sleepless nights due to unwanted noise? This expert guide from an acoustic engineer helps homeowners and renters aged 25-55 transform their bedrooms into peaceful sanctuaries. We've explored comprehensive strategies to soundproof bedroom spaces, ensuring effective bedroom noise isolation without breaking the bank.
- Prioritize Sealing Gaps: The quickest, most cost-effective step is to seal all cracks around windows, doors, and electrical outlets using acoustic caulk, weatherstripping, and door sweeps. Sound exploits even the tiniest openings!
- Choose Smart Materials: Understand the difference between sound-blocking (mass loaded vinyl, soundproof drywall, Green Glue for damping) and sound-absorbing materials (acoustic panels, thick insulation). We provided specific recommendations, addressing competitor's lack of detail on the best soundproofing materials.
- Master Installation Techniques: Learn how to effectively block noise from other rooms by layering drywall with damping compound, using resilient channels for walls and ceilings, and reinforcing doors and windows with proper seals and inserts.
- Embrace Budget-Friendly Solutions: Discover numerous DIY soundproofing ideas for better sleep, such as utilizing heavy curtains, dense rugs, strategic furniture placement, and even creating your own acoustic panels. This addresses how to soundproof a bedroom wall on a budget and provides effective soundproofing methods for noisy neighbors without extensive renovations.
- Learn from Real Examples: Our case studies demonstrate how these techniques deliver successful noise reduction in various scenarios, from apartment living to managing noisy children upstairs.
By focusing on sealing, adding mass and damping, and strategically absorbing sound, you can create a tranquil haven. Your peaceful, quiet bedroom is within reach!

